|
|
|
|
Featured Photoshop Tutorials:
|
Deprecated: mysql_connect(): The mysql extension is deprecated and will be removed in the future: use mysqli or PDO instead in /home/appelsin/public_html/kromefx/db_conn.php on line 8
|
|
Deprecated: mysql_connect(): The mysql extension is deprecated and will be removed in the future: use mysqli or PDO instead in /home/appelsin/public_html/kromefx/db_conn.php on line 8
 | | Title: | | Complete Web Page Plus Code | | Author: | kromefx | view all by kromefx | | Category: | Web Layouts | | Level: | Intermediate | | Description: | This tutorial takes you from the initial setup and design of a web site, all the way through producing W3C validated CSS and XHTML 1.0 for layout, while leaving room for integrating your own designs and color schemes. The .PSD is also available for download as well as the code. | | Views: | 325,925 | | Date: | 12/9/2005 | | |
| Page 1 | Page 2 | Page 3 | Page 4 | Page 5 | Page 6 | Page 7 |
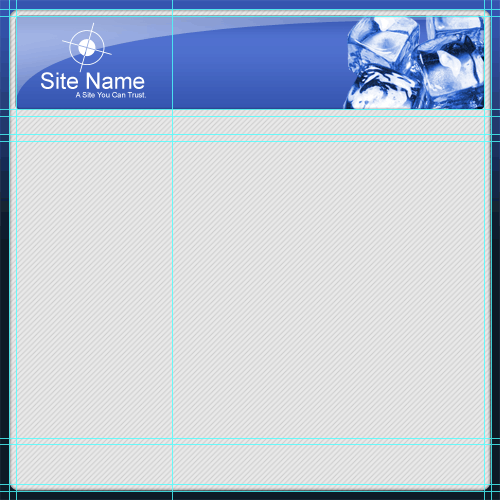
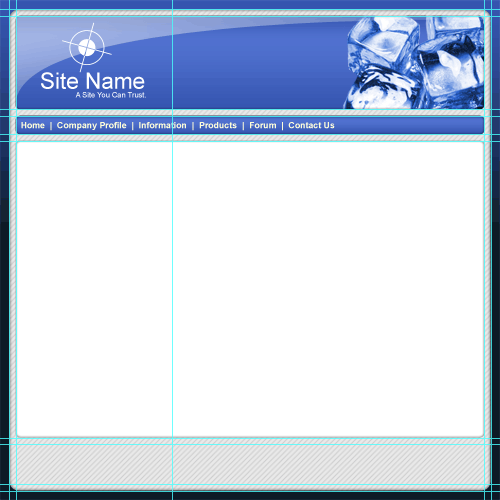
| Now add your logo, or simply the name of your web site. It should be centered between the guides shown below. I used a default Photoshop shape for this one, with the regular old Arial font. | |
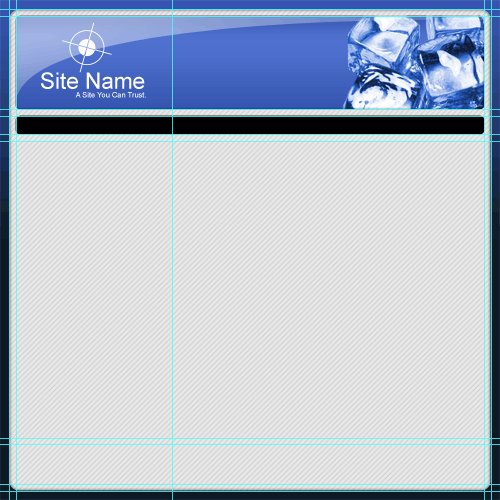
Now move on to the menu. Create a new layer group called menu. Use the Rounded Rectangle Tool  to create your menu between the guides shown below. Copy the layer style from the bottom shape layer of your header and paste it to this layer. It should be just an inner shadow. to create your menu between the guides shown below. Copy the layer style from the bottom shape layer of your header and paste it to this layer. It should be just an inner shadow. | |
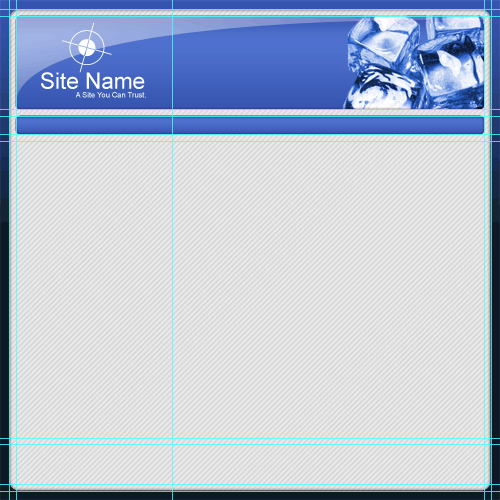
| Now duplicate the layer and add a gradient to it in the blending options. Match one of the colors in your color scheme. Then clip this layer to the layer below just as we did with the header. Again, I used a regular old blue gradient. You could have done all of this on the first layer of the menu, without using a clipping mask. However the clipping mask allows you to add other things to this layer group if you so desire. We will not do that in this tutorial. | |
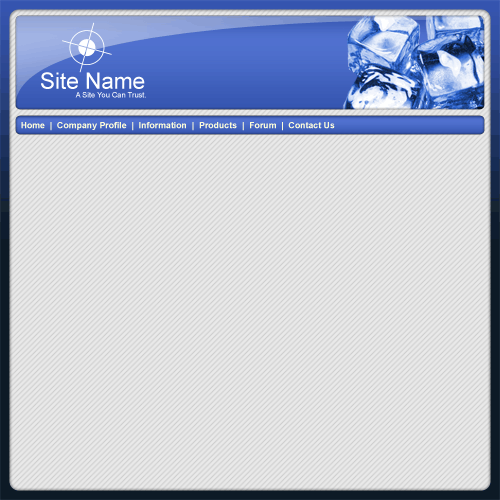
| Now add your text that will be your links. This text will eventually be replaced with actual HTML text, but just so you can visualize what’s going on, I have added some text to the image and removed the guides. | |
Let’s move on to the body. Create a new layer group named body. Set your foreground color to the color you want to use for the body, I chose white. Then use the Rounded Rectangle Tool  to create the body shape layer in between the guides shown below. Add the same inner shadow that you’ve added to the menu and header layers. to create the body shape layer in between the guides shown below. Add the same inner shadow that you’ve added to the menu and header layers. | |
| Page 1 | Page 2 | Page 3 | Page 4 | Page 5 | Page 6 | Page 7 |
| Paul 87.212.50.103 | 3/14/2008 @ 6:56pm | Awesome Tut, keep up the good work!
|
Click Here to see the MOST POPULAR tutorials!
|
|
|


